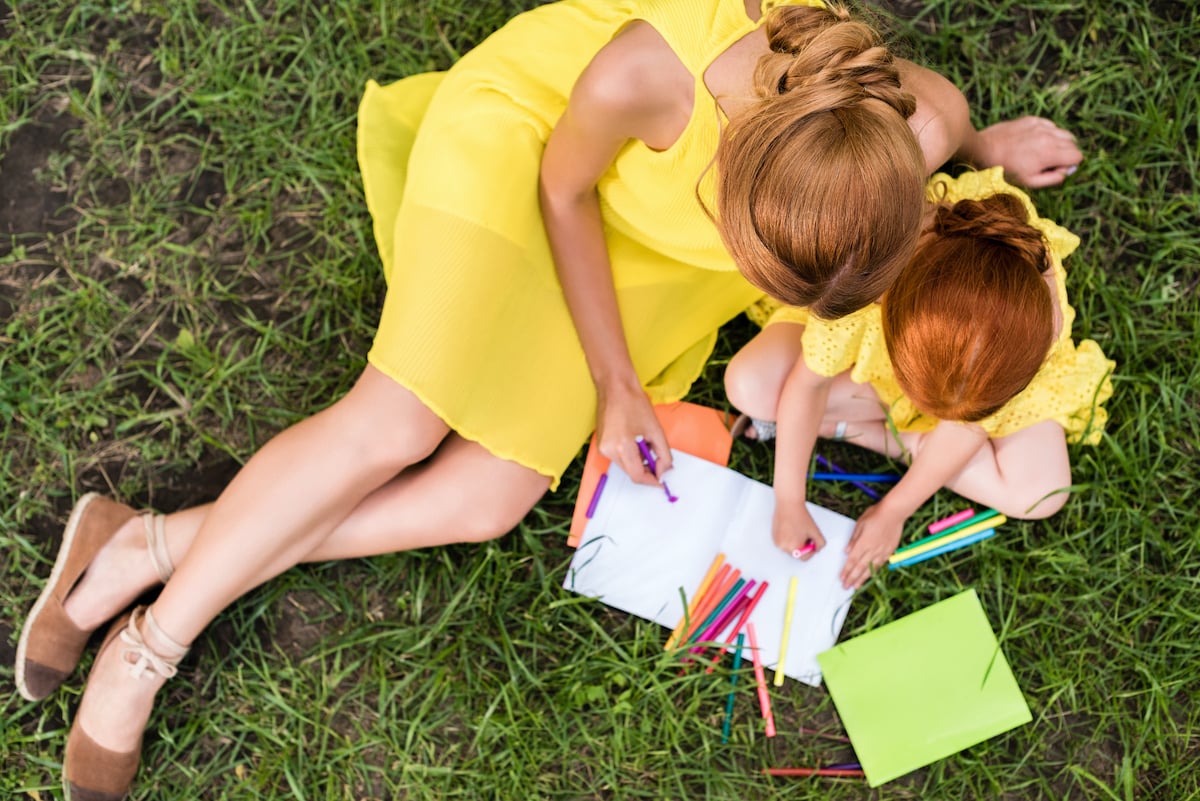
Adult coloring books have become more popular in recent years, as they can help people relieve stress and improve their mental health. If you want to make a more personalized coloring book, why not convert your photographs into an adult coloring book?
Or, if you have children, taking family photos and turning them into a coloring book can be a great gift and the perfect activity to occupy their time.
Photographs are great for coloring since they feature complex designs and are often accompanied by beautiful backgrounds. Contrary to popular belief, it’s also not that difficult to turn your photos into coloring pages.
So, how do you turn photos into coloring pages? The best way to turn photos into coloring pages is to use apps that are made for taking your photos and making them look like sketches. If you want a more professional looking appearance, you may want to consider following tutorials for programs like Photoshop or ProCreate.
There are plenty of desktop and mobile apps that allow you to turn a detailed, complex photo into a sketch that you can print as a coloring page. In this article, we’ll show you several step-by-step tutorials for using these apps to get the best results!
Crayola Color Camera
Available on: iOS App Store, PlayStore.
Crayola is a well-known name in the world of coloring tools, but did you know that they also have an app to convert your photos into a coloring page?
This is a free app that you can download on both the iOS App Store and the Play Store. It is super easy to use and doesn’t require any photo editing skills or creative skills at all.
Here’s how to convert your photo into a coloring page with Crayola Color Camera.
Step 1:
Open the app and click “Colors of the World.”
Step 2:
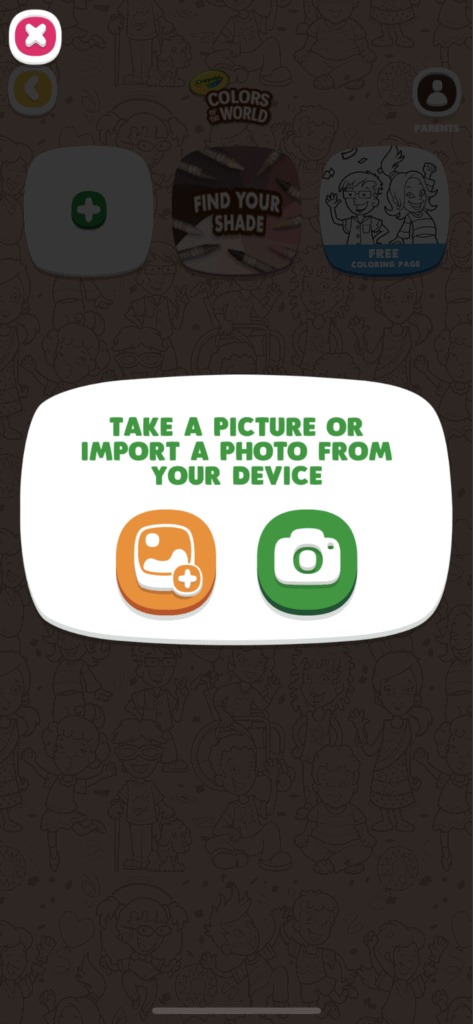
Hit the “+” option on the next screen and a pop-up will open to allow you to take a picture or import a photo from your device.
Step 3:
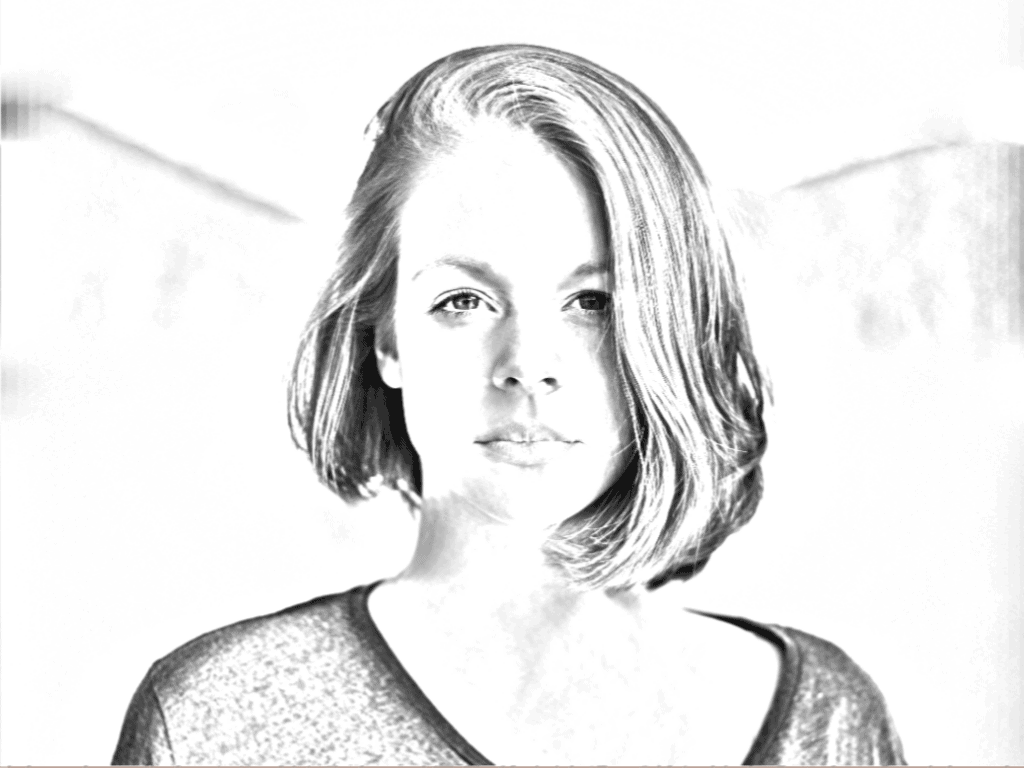
A rough sketch of your photo will appear, and you will have the option to increase or decrease the contrast. Increasing the contrast will allow more black details to appear, and the sketch will look darker, while decreasing the contrast will erase some of the details.
In this step, you also have the option to add more fun details to the sketch. From the bottom toolbox, you can add accessories, background details, etc., to liven the sketch.
Step 4:
When you are happy with the result, just hit the ‘check’ on the top right, and the app will give you the option to save or print your photo!
Pros And Cons
Now, let’s talk about the pros and cons of this app. As a free app, Crayola Color Camera has all the basic functions that you will need to create a fun, simple, and super quick sketch for you to print as a coloring book page.
It’s as straightforward as it gets, and you don’t have to put too much effort into customizing the look. The app also allows you to print and save photos for free without any watermarks, which is a big plus.
However, because this is designed for beginners, customization options are pretty limited. As you can see in the example above, there’s not a lot of wiggle room.
In this photo, the background isn’t showing up very well, but there’s no option to erase or adjust it without affecting the entire sketch. If you want to remove the background, you will have to use another photo editing app to erase it.
In terms of printing, the resolution of the print will depend on the resolution of the image, so if you don’t have a very high-quality image, the print will turn out quite pixelated.
Still, this is an excellent option if you’re looking for something free, quick, and easy.
Sketch My Pic
Available on: iOS App Store, PlayStore
Sketch My Pic is another free app that allows you to easily convert your photo into a black and white sketch, which you can then print as a coloring page.
Similar to Crayola’s app, Sketch My Pic is free to download, super friendly to beginners, and allows you to print for free without any watermarks.
Here’s how to convert your photo into a coloring page with this app:
Step 1:
Open the app and hit ‘Add a Photo,’ then choose the photo that you want to convert into the coloring page.
Then, hit “Apply Sketch Effect.”

Step 2:
The result will appear, along with various options to customize your image. For example, you can switch between a few different effects to choose the one that you like, using the arrow on the bottom.
You can also hit the ‘+’ or ‘-’ to increase or decrease the contrast, which will allow more details to appear or reduce the amount of details on your page.
On the top of the screen, you’ll also see options to add texts, shapes, icons, or crop the image.
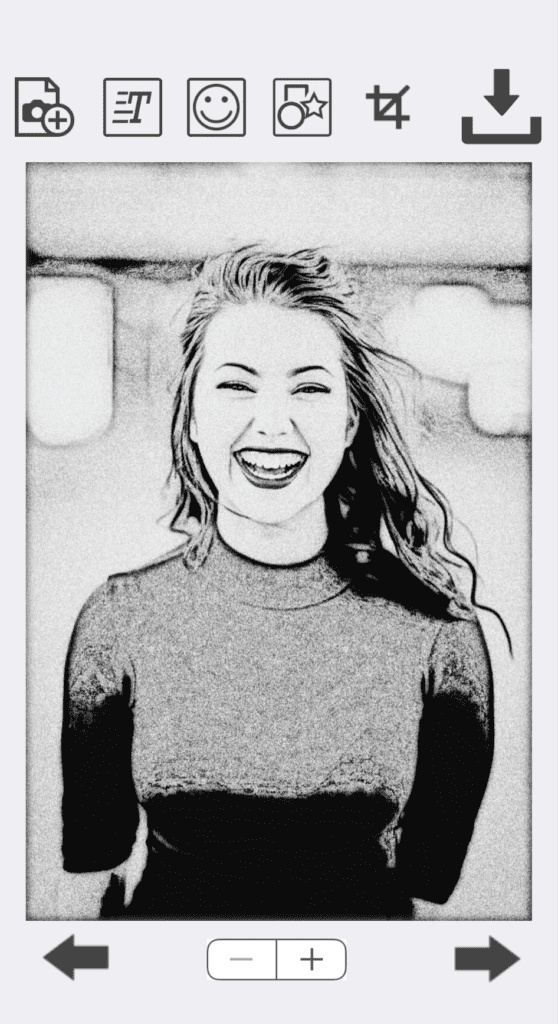
Step 4:
Once you are happy with the result, you can hit the ‘Download’ button on the top right corner of the screen.
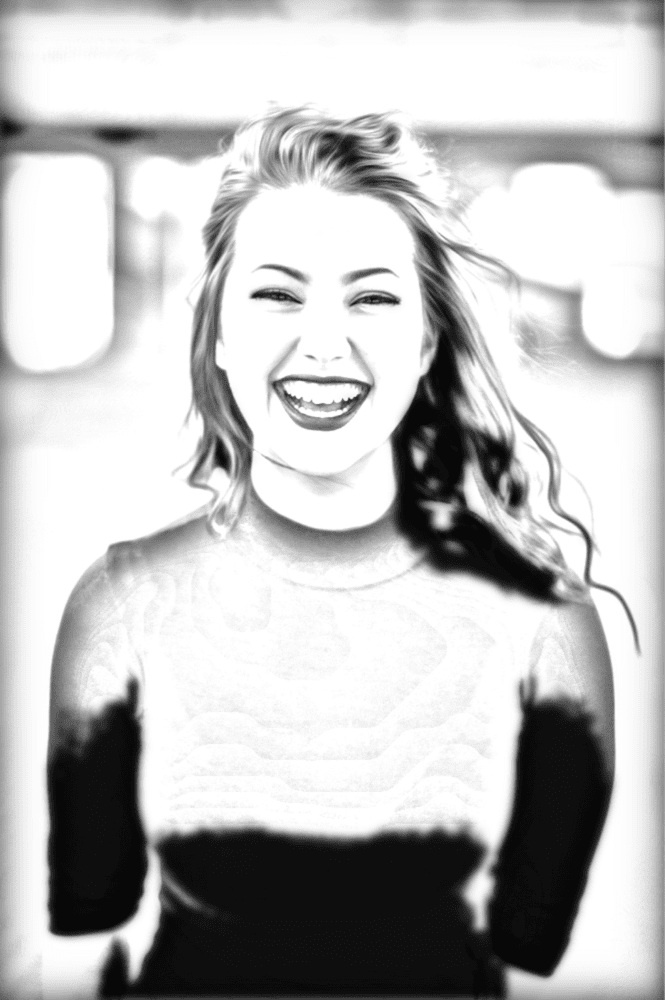
Here’s another example:

Pros And Cons
We like that this app gives you a few more options for effects, which makes customization easier while still maintaining a certain degree of user-friendliness, especially for beginners.
However, as you can see in the example above, the app is not doing well when it comes to darker areas of the photo. Areas of shadow show up as black, and if you reduce the contrast, you will lose some of the details in lighter areas.
There are also not a lot of options in terms of minimizing the background area and adjusting certain areas. If you want more customization options, you will need to edit your photo in another app before using this one to convert your photo.
If you have a low-resolution photo, then printing quality can also be affected as well. As a free app, this one still looks like a strong option if you want something quick and beginner-friendly.
Adobe Capture
Available on: iOS App Store, PlayStore
Adobe, the company that makes a wide range of creative apps for graphic design, animation, and film editing, also has a free app that allows you to turn your photo into a sketch for coloring books.
With Adobe’s reputation, it’s no surprise that this app is quite excellent at capturing details while still allowing a lot of customization options as well. This app is free to download, free to use, and you can also download the final sketch for free without having to pay extra.
Let’s first take a look at how to use the app before exploring the pros and cons.
Step 1:
Open the app and click the bar at the bottom of the screen to add a photo or take a picture to sketch.
Step 2:
Click the “Shapes” option at the bottom of the screen, and a rough sketch will appear. You can adjust the slider at the bottom to see how much detail you want to have in your sketch.
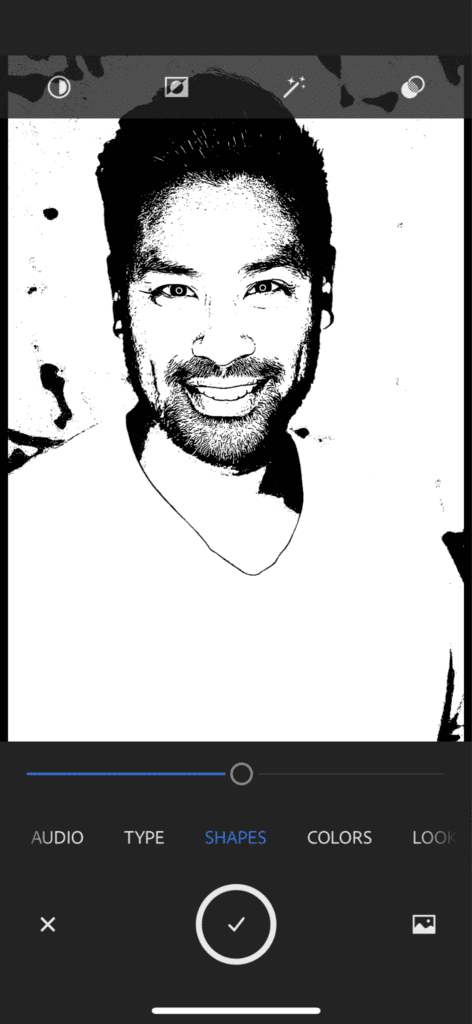
You’ll also see that on the top, a world of customization options will open up. The icons are, from left to right: “Contrast,” “Invert colors,” “Auto Clean,” and “Advanced Settings.”
You can spend some time playing around with all of these different options to see how your sketch will turn out. We recommend adjusting the Contrast as well as different highlight and shadows settings under “Advanced Settings,” which will give you varying degrees of details for your sketch.
Don’t worry too much about the background here as there is still another step to edit.
Step 3:
Once you are happy with the sketch, hit the “Check” icon at the bottom of the screen, and other edit screen will appear.
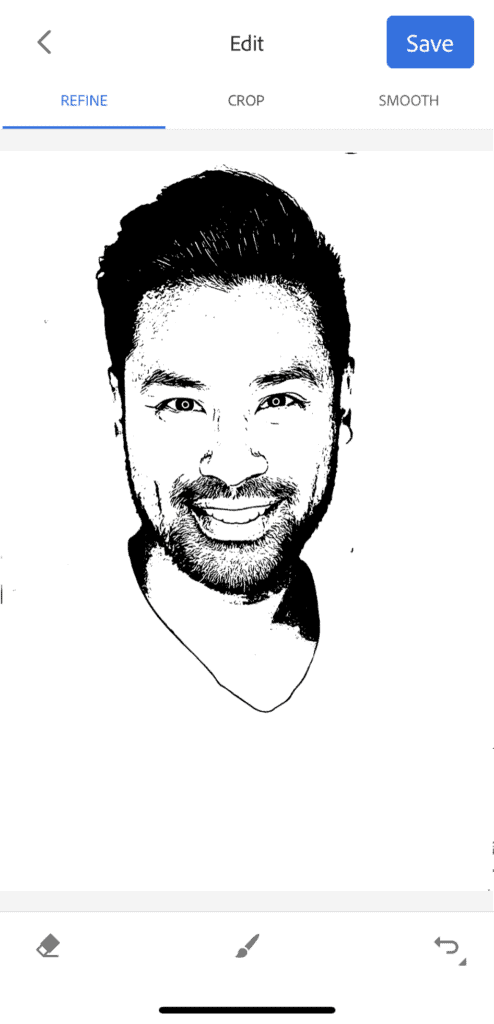
Here, you have more options to refine the image, erase unnecessary details in the background, crop the image to the area that you want, free-style draw more details into the image, and smooth out the details to create a highly refined sketch.
For example, if any details in the image had been erased in the last step, you can use the brush option to draw in more outlines. Make sure to adjust the brush size so that it matches the outline of the sketch.
Step 4:
Once you are happy with how it looks, you can hit “Save” and then “Save to Camera Roll” to save and print the image.


Photo: Unsplash
Pros And Cons
We absolutely love this app, not only because it is free but also because of the highly refined sketching feature that allows the final result to look like a hand-drawn sketch, not just a filter on a photo.
There are also plenty of customization options in this app, allowing it to work with a variety of photo styles. You can also edit the image straight in the app before turning it into a sketch, which is something that other free apps cannot match.
We also love the option of erasing the background of the image and free-style drawing in the image after you are finished sketching. You can add plenty of personalized touches to the image and really make it your own.
As an Adobe App, you also have the option to link this sketch to other (paid) Adobe Apps that you may already have on your desktop, like Illustrator, Photoshop, or InDesign, which you can then use to further customize your coloring page or even make an entire coloring book before printing.
As for disadvantages, there’s only one style option, which is the kind of ‘realistic’ sketch style that you can see here. If you don’t love this look, there are not really any other options in terms of style.
We also find that this app is quite picky in terms of the image it would work well with. In the example above, the background is blurred, and the details are minimal. However, if you have a busy image with a lot of details in the background, the sketch might turn out quite busy and not really suitable for a coloring book.
All of the customization options can also seem quite overwhelming to beginners, which may feel discouraging if you are not familiar with the language of photo editing or designing.
One plus side is, of course, this is all pretty easy to learn, and the app’s design is quite intuitive, which makes playing around with it quite fun and simple.
If you have an afternoon, you can take the time to experiment with all the different options on the app and find the style that really works for you!
ProCreate / ProCreate Pocket
Available on: iOS App Store
ProCreate is an iPad app that you can purchase on the App Store for $9.99. An iPhone version called Procreate Pocket is also available on the App Store for $4.99.
This option is the most advanced option available, and as you can see, it is also not free. However, there’s a reason why ProCreate is highly recommended for most digital artists.
First of all, the price that you see here is a one-off price, and there’s no in-app purchase. For aspiring digital artists, this is a highly affordable price, especially compared to other designing apps out there, which can cost up to hundreds of dollars a year.
Using ProCreate is not as simple as importing a photo into the app and converting it into a sketch – you will need to use your hands and your imagination to sketch it out.
Fortunately, ProCreate is extremely easy for beginners to learn. The tools are super helpful and quite intuitive, and there are plenty of tutorials on YouTube that can tell you how to start, like the one we’ve linked below from Julia K Crist.
ProCreate is highly recommended for those who love sketching and drawing in their own style since this app allows you to free-style draw as well as a sketch based on a photo that you have.
Even if you are not an artist, the option to layer the image underneath and then trace the outline with a brush tool is easy enough to use, and the app is very forgiving for mistakes.
You can add or remove any details that you want or even draw in your own style if you already have some experience in drawing and sketching. If you love to experiment with your art style and make a coloring page that is completely personalized and in your own style, this is definitely a worthy option.
There are some disadvantages to using ProCreate, of course. The first is that ProCreate is best to use with an iPad and an Apple Pencil, which really makes it easy to create smaller details and effectively use all the brushes.
If you don’t already own these devices, ProCreate Pocket is available on your phone, and you can use your fingers to create the outline, but it won’t be as user-friendly or precise as using the iPad App.
Using ProCreate to create a coloring page is also quite time-consuming since you have to create the outlines and brushstrokes yourself. This is a trade-off that you have when you want a greater degree of customization since this also means that you can inject your own drawing style into the sketch.
ProCreate also allows you to create sketches in any size that you want. Since you are drawing the outline yourself, you don’t have to worry about the size of the image or printing quality.
With other apps that rely on the image and a filter, there’s always a risk of the image being too low-resolution or small, which can create a low-quality result when printing. This risk is entirely eliminated when using ProCreate, and you can create your coloring book in any size that you want, in any style that you want!
Up Next: Best Oil-Based Colored Pencils