
How To Fix Ripped Jeans Back Pocket
It happens to all of us. One day you are working on something or simply going about your business when you feel a tear. You turn around to see the back pocket of your jeans hanging by a thread. It was your favorite pair of jeans too…
As a staple in so many people’s wardrobe, jeans are often worth looking after and repairing when necessary. The lengths I know I go to to find a comfortable, fitted pair of jeans definitely make me want to keep hold of them whatever the cost.
So how exactly can you fix the ripped jeans back pocket? In short, you’ll need a sewing kit, some spare denim, and iron-on patches and you’re good to go.
How To Fix Ripped Jeans Back Pocket
When attempting to fix your jeans pocket, there are several essential things to keep in mind, which I’ll try to cover in detail throughout this article. Factors such as sizing, the requisite sewing skills, and where you can find everything you need for the job.
Assess the extent of the damage
First things first, you’ll want to assess the situation and get a good idea of what you’ll need to fix. Whether it’s a small tear or the pocket is about to fall off, there are different approaches and ways of going about putting it back together.
Let’s break down the main 3 ways your jeans pocket is likely to rip and discuss the best ways to go about repairing them. Turn the pocket inside out, and you’ll be in the best position to evaluate what needs to be done.
There’s a rip on the outer edge
If you see that the rip is only confined to the outer edge of your pocket, that’s generally good news for you.
You can easily fix this kind of tear with some tidy sewing, closing up the hole with a larger seam of a similar color than the pocket.
There’s a rip in the middle
If you notice that there’s a rip in the middle of the pocket, then I’m sorry to tell you that you’ll most likely have to replace the entire pocket.
Depending on the size and severity of the tear, it will probably be too difficult to patch up, meaning you’re going to have to cut the pocket off and start from scratch (which we’ll go over in a bit).
There’s a rip on the inner edge
If the rip is located on the inner edge of the pocket, that is to say between the area closest to you when you are wearing the jeans, then again you’ll need to replace the whole pocket.
The material can be quite delicate, especially after extended use, so any attempt to fix this area up will likely result in something worse than what you started with.
Fixing Holes and Tears
Ok, so now you’ve given your pocket the once over and you know what you have to do, let’s get into the nitty-gritty of the sewing involved.
Holes
Placing the material over the space left by the hole, use pins to keep it there as you work on it.
Okay, so now it’s time for your sewing machine skills to shine. Go over the damaged area left behind, making sure not to sew both sides of the jeans together accidentally.
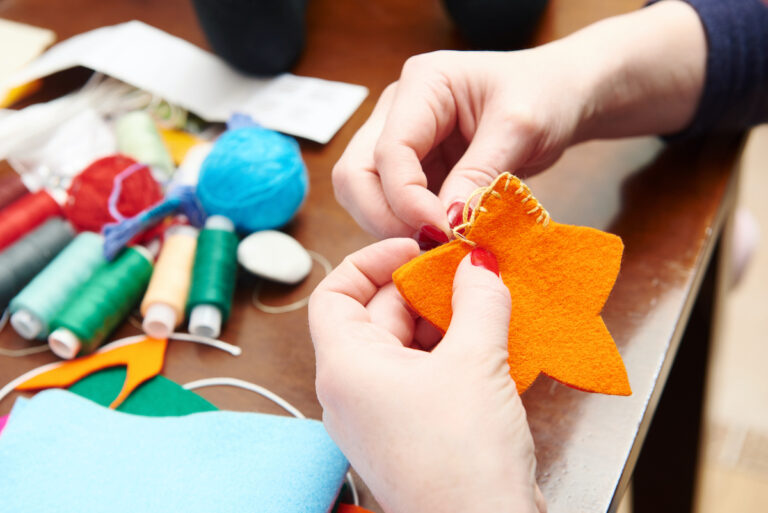
Sew all of the edges up using a needle and 20 inches plus of thread. Make a knot at the opposite end from the needle and get to work, using a thread which won’t look dissimilar from the color and style of your jeans.
Tears
For smaller tears, again you’ll need 20 inches plus of thread to do the job. Tie a knot in the same place as for holes, as far away from the needle as possible.
Pinching the edges of the torn areas together, start to sew, ensuring that any frayed or damaged parts are on the inside.
Upon completion, go back and re-stitch the area, so that you can be sure there won’t be a next time.
Sewing a New Pocket
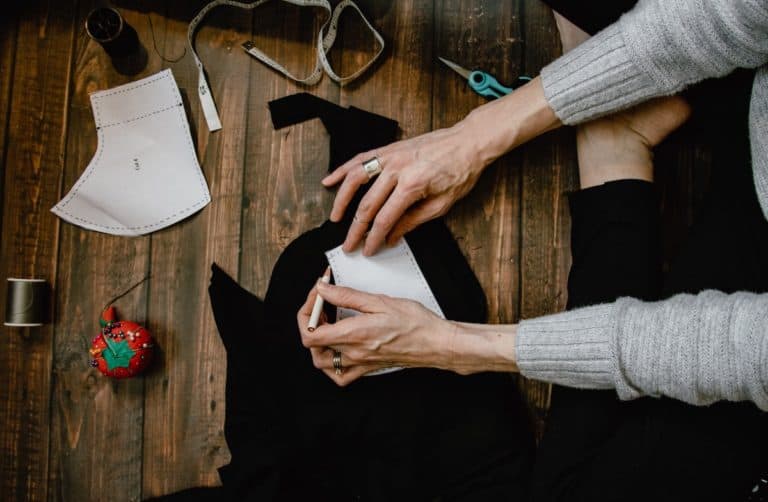
Before you get stuck into the sewing part, it’s important to clean up the affected area with some scissors to make sure you do as clean a job as possible.
Before Sewing
To retain the aesthetic of your jeans, cut away any parts which are frayed and looking rough.
Next, although it’s tempting to cut the whole pocket off, flatten the pocket out and make a line to cut out slightly away from where the pocket meets the jeans. We do this to make attaching the new pocket as smooth as possible, and leaving a good amount of fabric to work with.
Adjust the new pocket to the perfect size.
After taking care of the current (old) pocket, take your spare denim and cut it to the size of the previous one.
Bear in mind it’s important that you make the new one a couple of inches bigger – in terms of both length and width – in order to ensure a more durable pocket.
During Sewing
Sewing a new pocket can seem a bit complicated to the novice, but learning how to do it is a highly valuable skill which will serve you well in the future.
While a sewing machine certainly helps make the job easier, you can also pull this off by hand stitching with a needle and thread.
So, first off, take your newly cut pocket and using a pin attach the right side of it to the inside of the space where the old pocket was attached, lining up the edges and pinning to the edge seam too as you do so.
To begin, start sewing at the first pin and work your way towards the other, making sure the gap between them remains open.
Then, sew a seam to connect the new pocket fabric to the remains of the old one. Around 10 stitches should suffice for every inch. The seam should have a width of around ¼ inch.
Reach from inside the pocket and pull the new pocket, then flatten the seam in the direction of the new pocket fabric.
For a strong connection, you’re going to sew along the old seam’s stitches through both the seam and the new pocket fabric, making sure they are close to the stitches you made before.
Now attach pins in the new pocket around the curved edge of the remaining pocket to securely connect them together.
The pins show exactly where you want the bottom edge of the pocket to be, so the seam to make will have to be just above this line of pins.
Finally, clean up the job by trimming off any excess fabric and you have yourself a great new pocket for your favorite pair of jeans.
Non-Sewing Alternative
If you don’t fancy trying your hand at sewing, here is an easy alternative that’ll do the job just as well.
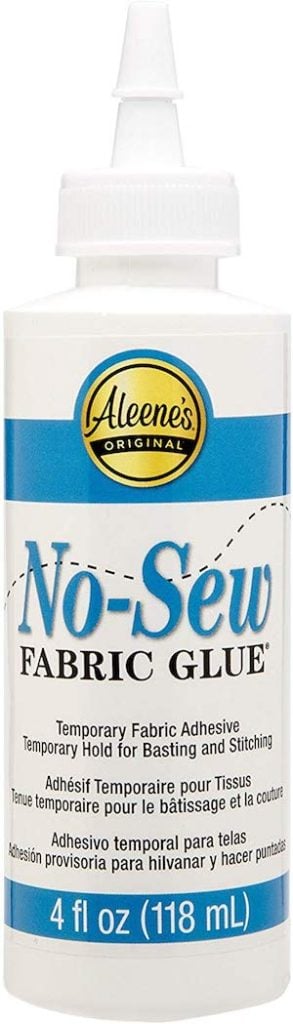
For this non-sewing alternative, you’ll just need some scissors, a marker, a patch of fabric measuring half a yard and fabric glue. Aleene’s is my favorite fabric glue.
As for the fabric, you can either stick with the color of your jeans, or get creative and add a personal touch with a fun pattern on your back pocket.
First, like in the sewing version of this fix, you’ll have to cut the fabric to a size a little larger than the back pocket of your jeans.
To do this, simply place the fabric over the pocket, and use your marker to draw the outline on the fabric where you’ll need to cut.
You’re then going to cut around the outline you made and carefully line the fabric up with the seams on the back pocket.
Spread out the fabric glue onto the pocket evenly using a spoon, and begin to lay the fabric on top of the jeans. Move it around until you are happy with it, then flatten it down and leave it for a while et voila!
3 Ways to Personalize Your Jeans
Ok, so now that we have covered all the ways you can fix and replace the back pocket on your beloved jeans.
Before you go, let’s take a quick look at 3 cool ways to jazz up your jeans and personalize them to your taste.
Add studs, beads or pearls
Add some personality to your jeans and make them yours with some stylish studs, beads or pearls.
All that’s required for this look is a hot glue gun, some pliers, scissors, the accessory of your choice and some fabric.
Best added at the bottom cuff of the jeans, you’ll first want to cut some fabric to put there, using a glue gun to stick it in place.
Then comes the fun part, think of a creative way to arrange the studs or your chosen accessory, and have at it. You’ll be the envy of your friends with this fashion fix.
Print on some neat patterns
Whether it’s an animal print or just a colorful pattern that you like, make a statement by applying it to an older pair of jeans.
Get some bleach, paintbrushes, a bowl, some rubber gloves and a printed pattern of your choice.
Using the gloves, grab your brush and paint the pattern onto the jeans with bleach, using the printed pattern for reference.
After approximately 20 minutes, go over it again filling in the gaps. Finally, chuck your jeans in the wash without detergent and hang them up to dry!
Get creative with color
Add a splash of color to drab jeans with this simple look.
All you’ll need is some acrylic paint, masking tape, a few brushes and a newspaper.
Using a stable surface like a table, lay the jeans out flat and start to place masking tape on the legs in any pattern you fancy.
Once you’ve done this, get your favorite color of acrylic paint (or several) and get to work painting the spaces in between the masking tape. You may have to go over them several times to get the right amount of pop in color.
Finally, peel off the masking tape and iron the jeans to ensure the paint really sinks into the fabric and you’re good to go and parade around in your cool, colorful new jeans!
For a visual tutorial, watch this video by Sewing For A Living on YouTube.