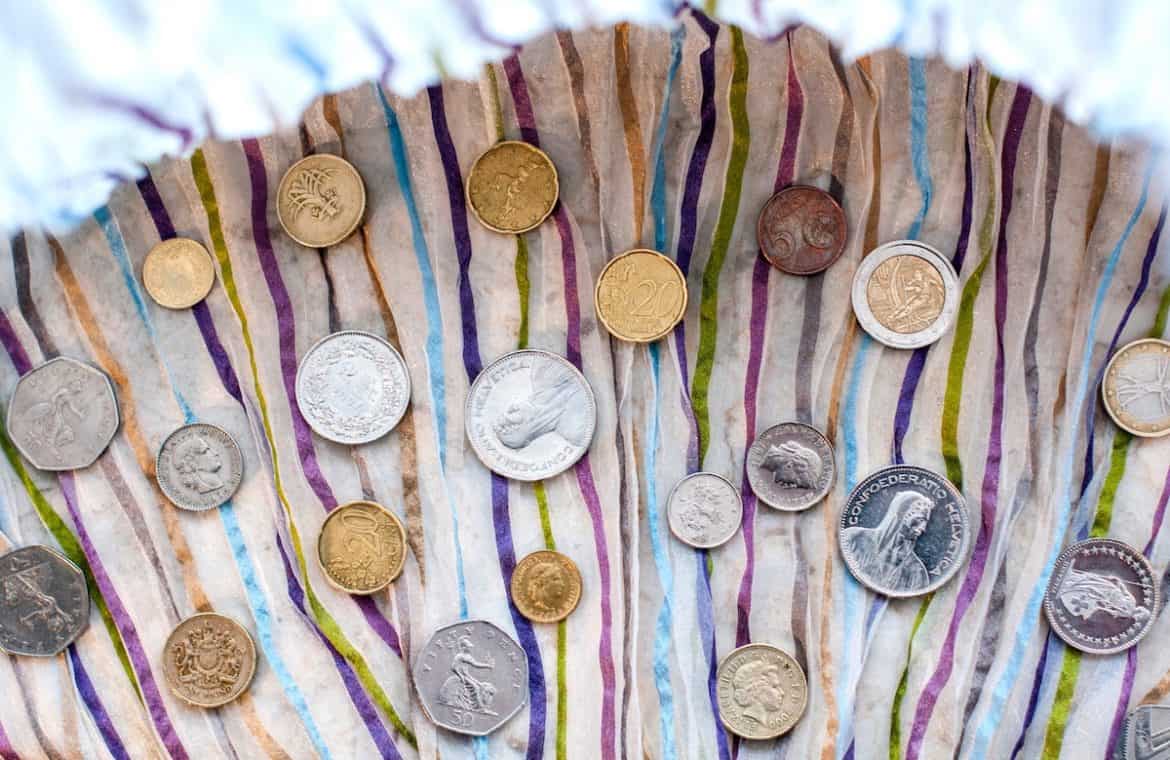
Throughout history, people have been wearing coin necklaces for luck and good fortune. A precious gold or silver chain with a special coin attached is a timeless addition to any jewelry collection. It is perfect for everyday use and is still believed to promote wealth and prosperity!
So, how can you turn your lucky coin into a cool necklace? There are two best ways to make a coin necklace. One way is to drill or punch a hole through the coin, and the other way is to mount the coin in a bezel.
If you don’t mind putting a hole in your lucky coin, then this is the quick and easy way to go. But, if damaging your precious memento is too much to bear, then the bezel method would be best for you. It’s a bit more work, but you’ll find it is worth the effort.
You can wear just one single coin on one chain, add a few charms or layer several necklaces for a real style statement.
The long-chain coin necklace is also great for all seasons. During the winter you can wear it over bulky knits and in the summer it easily goes with any look. Add a few talisman charms for a unique bohemian look perfect for beach festivals!
A Quick History Lesson on Coin Necklaces
There is a lot of sentiment and meaning behind coin jewelry designs. People have been making coin necklaces since about the 1600s to give to loved ones as meaningful mementos.
These “Tokens of Love” were often engraved with special messages. The recipient would carry the coin or wear the necklace for good luck.
Soldiers sent overseas during the war would frequently send unique silver and gold coin necklaces to their friends and relatives. When sent to a spouse or lover, it was often referred to as “sweetheart jewelry” to keep the memory of their love alive.
The coins the soldiers used were usually from the country where they were stationed. This made it extra special for the recipient.
It is not illegal to put a hole in a coin, however after the coin has a hole, it can no longer be used as legal tender. A coin necklace has tons of sentimental value, but can not be used as currency.
Aside from their sentimental value, coin necklaces make the perfect accessory for any outfit. Whether you want to add a bit of bling to a casual t-shirt and jeans or need a simple, yet elegant necklace for a night out, the coin necklace is a great choice.
How to Make a Coin Necklace – 2 Methods
There are two different ways that you can use to make a coin necklace:
- You can punch a hole in the coin – Using this method, you’ll essentially be chiseling a hole into your coin.
- You can drill a hole in the coin – This method requires a hand drill or a drill press.
Either method works well, it just depends on the materials you have on hand. Choose the method that suits your fancy.
Method 1: Punching a Hole with a Chisel
How to chisel a hole in a coin:
Step 1: Prepare the coin for the chisel
Lay the coin on a hard flat surface that won’t easily break, like a rock or a solid piece of concrete.
Place a small chisel where you want the hole to be, approximately a third from the top of the coin. This will be the spot for the hole.
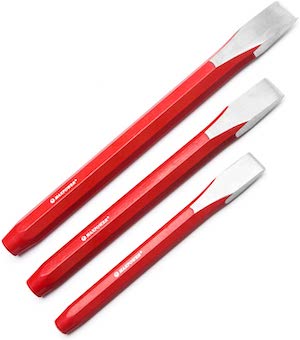
Make sure your chisel is suitable for the metal. A multi-purpose chisel, like this set on Amazon, is perfect. (Make sure to choose the smallest chisel in the set to use for this project.)
Step 2: Chisel a dent into the coin
Gently tap the chisel with a hammer until you see a small dent. Slowly increase the power of your taps to make the dent deeper and deeper.
Do not punch all the way through. Stop before the coin is penetrated because the chisel won’t make a nice cut.
Step 3: Use a nail to make a hole in the coin
Take a sharp nail and place the tip of it in the center of the dent. The nail will make a much better cut than the chisel. Hit the nail on the head until it pierces the coin.
Gently sand away any burrs around the hole to protect yourself from scratches when you wear the necklace. You want the outer edge of the hole to be perfectly smooth.
Step 4: Put the coin on a chain or jump ring
Do you want the coin to be able to slide around on the chain or stay put?
For a sliding coin, you will need a large jump ring that can easily slide around on the chain.
To keep the coin in one place on the necklace, use a small jump ring.
You can find silver, bronze, and gold jump rings on Amazon. This set offers silver or bronze jump rings.
Open the jump ring and put it through the hole. Close the jump ring and put it on your chain.
If your jump ring is very small, you will have to put it on the chain before closing. Your new coin necklace is ready to wear!
Method 2: Drilling a Hole with a Hand Drill or Drill Press
How to drill a hole in a coin:
Step 1: Choose the thickness of your coin
Select your coin. It is easier to drill a hole through a thin coin, but thicker ones work too.
Step 2: Clamp the coin
Place the coin on a piece of hardwood. Softwood doesn’t work as well and a steel surface won’t allow you to drill all the way through.
If you are using a hand drill, clamp the coin securely to the surface.
With a drill press, clamp the coin under the drill bit in the holder.
Step 3: Drill the coin
Choose the right size drill bit for the size of the hole you want. You can usually judge this by eye.
Look at the diameter of the drill bit and decide if that is the right size for your hole. Hold it up to the coin to make sure it isn’t too big or too small.
Place the drill bit on the coin and gently press the trigger of the hand drill. If the coin slips, stop immediately and tighten the clamp. In a drill press, set it at low.
Slowly start drilling through the coin. Whether you are using a hand drill or drill press, you have to go very slowly. Too much speed or power will send the coin flying.
Gently sand around the hole on both sides of the coin to remove any burrs.
Step 4: Attach the coin to a jump ring
Use a jump ring to attach your coin to your chain and you’re done! As mentioned earlier, the size of the jump ring will determine whether or not the coin can slide around the chain.
Bonus Tip: Use Masking Tape
Metal clamps might scratch the coin. You can avoid this by wrapping the outer edge with some type of tape. Masking tape works well. Wrap the edges before clamping the coin to prevent scratches.
Making a Coin Necklace with a Bezel
If you don’t want a hole in your coin, you can set it in a bezel.
You have two options:
- Buy a bezel
- Make one yourself.
Bezels come in various shapes and sizes, such as standard round or sea themes. If you really want to get creative, you can shape your coin into a teardrop or heart shape and use a bezel in one of those shapes.
Measure the diameter of your coin to make sure you buy the right size. If your bezel is a bit large, don’t worry, it can always be adjusted.
But, if it is too small, you will have some serious problems. You will have to choose a smaller coin or get very creative with fitting the coin into the bezel, which can be done with a little cutting and soldering.
How to Make a Bezel Setting
Step 1: Choose your coin and bezel wire
Choose your coin and your bezel wire.
Guide the bezel wire around the coin to see how much you need.
You don’t have to measure exactly. Having a little room to play is always a good idea.
Step 2: Cut the wire
Cut the wire to the length you need.
Trim the height of the wire to match the width of your coin. You want a little hanging over the edge to hold the coin in place, but not so much that it covers the coin. You decide how much of the bezel you want to cover the coin.
You can even make it flush. This means you will have to make the final fit very snug to keep the coin in place. You could even make jagged edges for a truly unique effect!
File both ends of the bezel wire completely flat, making sure the ends fit flush together.
Step 3: Solder the wire and place the coin in the bezel
Apply a very small amount of silver solder to the joint and carefully solder the ends together.
Rinse the solder and place the coin in the bezel to make sure it fits.
Work on a solid, smooth surface such as a steel block, not wood. This will make it easier to fit the bezel snugly around the coin.
Sand any rough edges of the bezel where you trimmed to get the right height. Unless, of course, you decided on a jagged edge. Then you don’t want to do any sanding on this part at all.
The silver bezel is very malleable, so you should be able to push it over the edges of the coin with your fingers.
If not, very gently crimp the edges around the coin with a pair of pliers and pat it down with a rubber mallet.
Gently pat down the bezel all around both sides of the coin.
Step 4: Add a jump ring
Clamp the bezel securely in a vise and very carefully solder a jump ring onto the top of the bezel setting.
Open the jump ring and attach the setting with your coin to your chain.
And that’s it! Two simple ways to make a coin necklace for yourself or for someone you love.
For a visual guide on how to make a bezel for a coin necklace, I highly recommend this video by Esslinger and Company on YouTube.


