Metal is a spectacular choice of material for durable, customized ornamental DIY crafts. But the truth is, it is not the easiest to work with at home.
It even gets trickier when you have to cut intricate designs on sheet metal. It is one thing to maneuver through a long straight line and another to cut out small detailed curvy shapes and patterns entirely.
We know the DIY maniac in you would attempt this at home and save those extra dollars from having it done professionally. It’s not that hard, though, and we are here to help you do it just as neatly and beautifully.
You can create anything from charms and pendants to jewelry organizers and lampshades using your favorite metal. The trick lies in determining the type of tool for the job.
How do you cut intricate designs in sheet metal? The best way to cut intricate designs in sheet metal is to make a stencil for the design and trace it onto the metal. A hole punch can also help you begin to cut out sections more easily. Sharp, precise, quality tools are important.
But what is the best tool for cutting intricate designs in sheet metal? The best tool for cutting intricate designs on sheet metal at home is tin snips. It is super easy to use -even by metal craft hobbyists at the beginner skill level, versatile, and budget-friendly.
Of course, there are more advanced hand and motorized saws and even laser machine cutters for the intermediate and expert metalsmiths. But for at-home DIY crafts purposes, we shall focus on simple hand tools that get the job done.
In this post, you will learn how to cut intricate designs on sheet metal at home with an easy to follow step by step guide. We also recommend the best tools for the job and where you can find them. Let’s begin.
Tools For Cutting Designs In Sheet Metal
The first thing is to gather the tools you need to cut intricate designs in sheet metal. You probably already have some of them. But if you don’t, we’ve linked to some good options.
Here are some supplies you’ll want to have on hand:
- Metal sheets
- Tin snips (metal snips)
- X-acto knife
- Hole punch pliers
- Needle metal file
- Cutting mat
- Plastic mold sheet or cardstock paper
- Thick gloves
- Safety goggles
- Dark pencil or fine point marker
- Ruler or tape measure
- Clamps (optional)
Metal Sheets
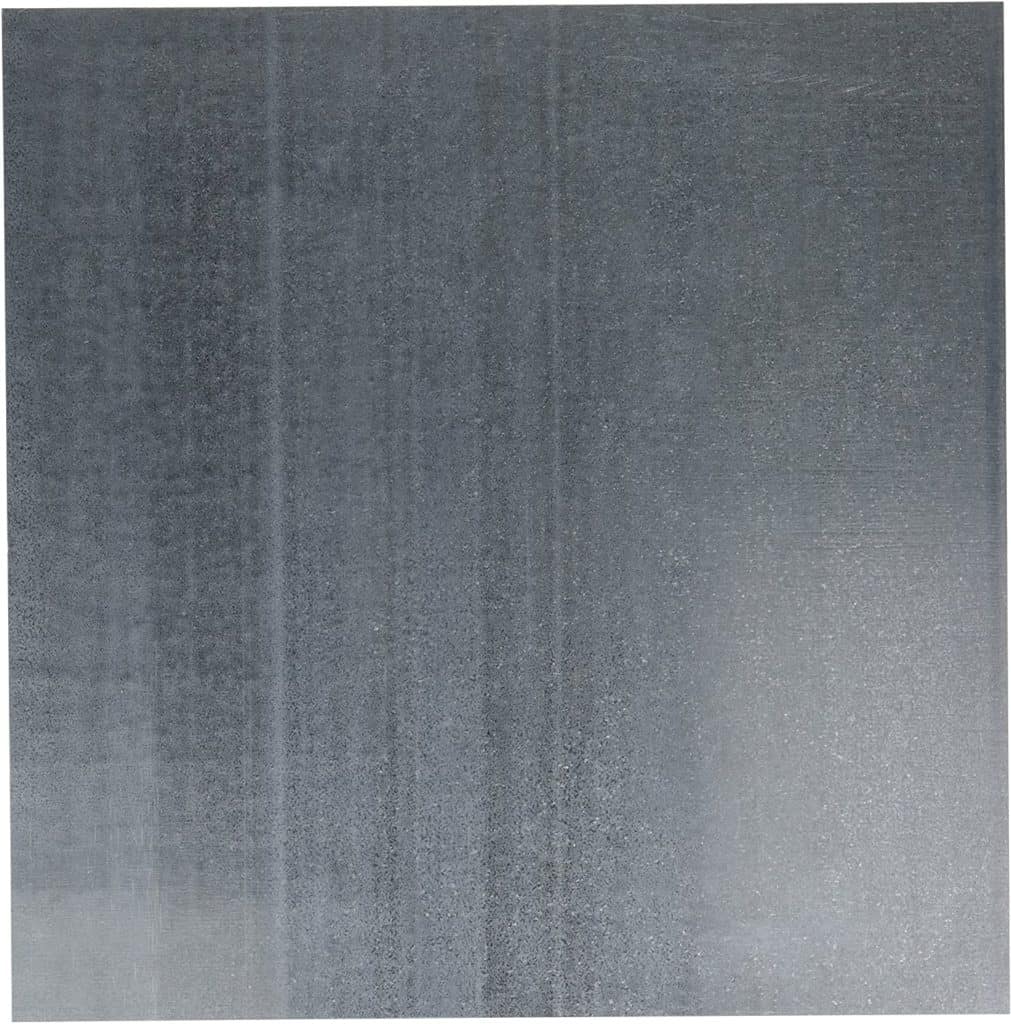
Not all metal types are ideal for crafting. You will have an easier time with softer metals such as aluminum or silver than with stainless steel. Brass and copper are medium soft alternatives to consider too.
It is important to pay attention to the number gauge as well. The greater the number gauge, the less rigid the metal sheet.
18-20 gauge is the thickest metal sheet you can use at home. 23-26 gauge would be ideal for sturdy crafts. Anything from 30 gauge and up is foil thin and the most comfortable to cut but flimsy.
Tin Snips
Tin snips, also known as aviation snips, are commonly used to cut metal sheets at home. These are like a pair of sheers with sturdier sharper cutting edges.
The tool is a much simpler alternative to the jewelers saw and works out perfectly with a dose of patience. Tin snips come color-coded as either yellow, red, or green for straight, right, and left cuts, respectively.
You can opt for green coded tin snips if you are left-handed as it cuts in a clockwise direction. The red coded tin snips navigate anticlockwise.
What makes tin snips a favorite tool for cutting metal sheets is that it has kind of rounded blades that can navigate either left or right to achieve curvy cuts as well as straight-line cuts.
The tin snip is also versatile enough for a range of thicknesses. It will slice anything as thick as 18 gauge as well as a flimsy 36 gauge metal sheet.
X-Acto Knife
X-Acto is actually a brand name, and what most people refer to when talking about a hobby knife (just like you’d use to cut leather or even in paper crafts). It is super handy and sharper than the sharpest craft knife.
It might be all you need to cut intricate designs in thin sheet metal. The superfine and extra sharp tip is excellent for small precise, and accurate cuts and gives you better control.
You can use this to quickly cut out designs but carefully (we insist it’s super sharp) from thin metal sheets. You’ll need several passes for thick sheets and perhaps a little bit of flexing.
Hole Punch Pliers
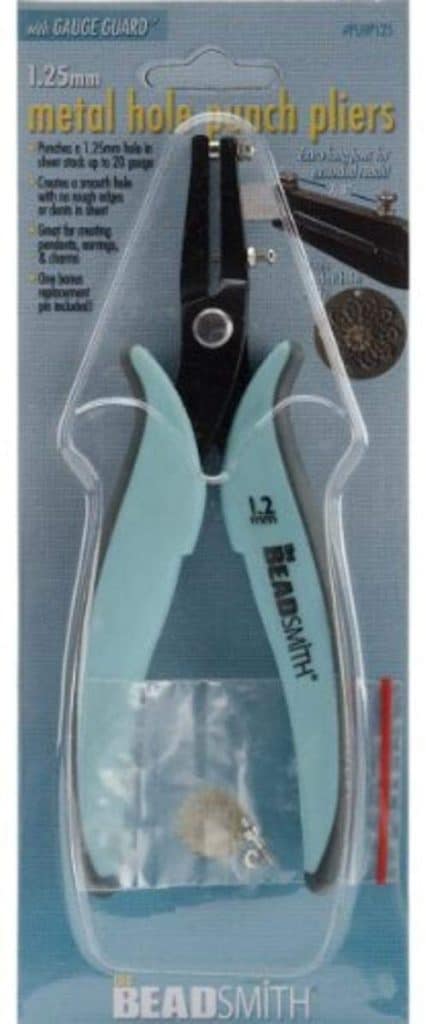
To cut out details in your metal sheet, you will need to create a pilot hole first. The hole punch pliers come handy for this particular task.
For 30-36 gauge sheets, a paper punch or any tool for punching holes will suffice. Thick sheets may be a little problematic, and you may resort to using a drill instead.
Needle Metal File
Tin snips have a learning curve and will likely leave your trimmed edges a little less than perfect.
A needle metal file will be necessary to smooth the edges out and keep them looking nice and rounded. It is small and slender to go through tiny spaces.
Cutting Mat
If you do not already have a working surface, you don’t mind scuffing, and you can invest in a cutting mat.
The self-healing type is ideal as the slits adhere to the original form. You may also use plywood instead.
Plastic Mold Sheet Or Cardstock
Here you basically just want something with a bit of structure to draw and cut your template easily.
Safety Gear
Safety gear is a must-have when working on metal projects to safeguard yourself from potential injury.
Thick gloves protect your hands. You could accidentally slash your finger with your tools. Jagged metal edges could also jar your flesh.
Safety goggles keep your eyes from flying metal chips, especially when you intend to utilize motorized tools.
Pencil Or Marker
A dark, sharp pencil or fine tip marker can draw the pattern on your metal sheet and won’t require you to buy anything you don’t have. But if you could get a metal scriber it would be the best tool option. It etches an ultra-fine outline, which is key to success.
How To Cut Intricate Designs In Sheet Metal
Step 1: Prepare
Gather all your tools and set up a working surface. It should be sturdy and wide enough to accommodate the size of your metal sheets. If you do not have a dedicated crafting table, you can spread a cutting mat on any available surface to protect it or use some plywood.
Step 2: Make Your Stencil
Using a pencil, draw your design on a plastic mold plate or cardstock paper. Use the ruler or measuring tape to make precise measurements or do it freehand. Once satisfied with the way it looks, use your X-Acto knife to cut out the intricate details in the cardstock or mold plate. You now have a stencil, or template.
Step 3: Trace Design
Clear the surface and place your metal sheet flat. Put the template on top as desired and carefully trace it to transfer the design to the metal sheet. You can trace with your pencil, marker, or a metal scribe. Use your free hand to secure the two together to avoid even the slightest movement.
Step 4: Prepare to Cut
You are proceeding to the cutting stage, so grab your safety equipment – gloves and goggles – and put them on. Don an apron too if you can find one.
Using your hole punch pliers, make a hole inside the design in one of the spaces you intend to cut out. This hole will be your starting point. You may need to puncture several holes for subsequent cutouts or alternating patterns.
If using an electric drill to bore the hole(s), clamping will be necessary to prevent the sheets from spinning.
NOTE: For very thin metal sheets, you do not need to make a hole. Simply proceed to step 5.
Step 5: Cut, Snip, or Saw
Insert a small portion of the open tip of your tin snips into the hole and start snipping by squeezing and releasing the handles as you would cut paper with a pair of paper sheers.
Follow the drawing closely all the way through to the end. A sharp bend may leave the metal sheet warped a little.
If you moved on from step 4, proceed with the X-Acto knife and cut out the design. Make several light pressure passes of the blade all through the outlines. You’ll want to be careful not to warp thin metal too much.
If you opted to use a jeweler’s saw instead of tin snips for the finest details, now you can unscrew one end of the blade to free it and pass it through the hole then fix it back.
You can then begin to follow the marks and cut out the intricate details. Ensure the saw tension is right, and you have some lubricant like beeswax for a smooth flow.
Step 6: Refine
For a refined look, smooth out the rough edges using the right size and shape metal files. You can use rounded files for curves and triangular files for sharply angled corners.
Note of Precaution
Before you get cutting, ensure kids are not involved in this type of craft or playing and lingering around the vicinity. Also, be sure to tidy up and collect every last bit of metal shaving after you are done. You can save these for scrap metal collectors.
The beginner secret of cutting intricate details in sheet metal accurately and effortlessly is in the preparation.
Start with simple designs and easy hand tools. Make clean and fine line drawings. Practice a lot on cheaper metal sheets until you perfect your skills. Save the complex designs and motorized tools for when you “graduate” to the next level of your metal-cutting game.
Up Next: The 3 Best Paints For Metal Jewelry


